Setting Up Multi-Currency Payments with Wix
With Wix, you can optimise your online shop for international customers by displaying prices in different currencies. This improves the shopping experience and increases the likelihood of purchase. Here are the key benefits:
- Customer-friendliness: Prices in the local currency build trust.
- Flexibility: Over 150 currencies are supported.
- Automatic conversion: Exchange rates are updated every 3 hours.
Quick Overview: Requirements and Features
- Required plan: At least the Wix Business Plan (EUR 36/month).
- Currency tools:
- Automatic currency converter.
- Flexible pricing (e.g. rounding).
- Payment providers: PayPal (25 currencies) or Stripe (multiple currencies).
PlanPrice/MonthCurrencies****FeaturesBusiness36 €Primary currency + 5Currency converter, automatic adjustmentBusiness Elite159 €Primary currency + 10Extended currency options
How to set up multi-currency payments:
- Activate a premium plan: Choose at least the Business plan.
- Connect a payment provider: Set up PayPal or Stripe.
- Configure currencies: Activate additional currencies in the Wix dashboard.
- Add a currency converter: Place it in the Wix editor.
With these steps, you make your shop ready for the international market.
Setting Up Your Wix Store
Required Wix Plans
To enable multi-currency payments, you need a premium plan. Features vary depending on the plan:
PlanPrice/MonthSupported Currencies****Multi-Currency FeaturesBusiness36 €Primary currency + 5Currency converter, automatic price adjustmentBusiness Elite159 €Primary currency + 10Extended currency options
The Light (EUR 17/month) and Core plans (EUR 29/month) do not support multi-currency features. For international sales, you should choose at least the Business plan.
Next, choose the appropriate payment provider that meets your requirements.
Choosing a Payment Provider
Choosing a suitable payment provider is crucial for smooth international transactions. Pay attention to the following:
- Currency support: PayPal supports, for example, 25 currencies and is available in approximately 250 countries.
- Fee structure: Consider transaction and conversion fees.
- Local payment methods: Check whether the preferred payment methods of your target countries are supported.
After choosing your provider, set up your currency accounts correctly to complete the integration.
Setting Up Currency Accounts
Once you have chosen a payment provider, configure your currency accounts for consistent payment processing. Follow these steps:
- Synchronise currency settings between Wix and your payment provider.
- Define your default currency via the language and region settings in the Wix dashboard.
- Activate additional currencies: Depending on your plan, you can add more currencies – up to 5 with the Business plan and up to 10 with the Business Elite plan.
With Wix Pay Pro, you also have the option to integrate any payment gateways, giving you additional flexibility in currency support.
Multi-Currency Settings in Wix
Finding Currency Settings
In Wix, you can adjust currency settings via your website's dashboard. You will find them under the menu item "Language & Region". Follow these steps:
- Open your website dashboard.
- Go to "Settings".
- Select "Language & Region".
- Scroll down to the "Website Currency" section.
Note: The selected currency in your Wix account must match the currency of your payment provider. This is essential for smooth payment processing.
Setting Up Currencies
With the currency converter, your customers can display prices in their preferred currency. Here is how to add the currency converter:
- Place the currency converter: Open the Wix Editor, go to "Add" → "Shop" → "Currency Converter" and drag the element to the desired location on your page.
- Activate currencies:
In the currency converter settings area, you can add additional currencies:
- Click on "Currencies" in the left sidebar.
- Select "+Add Currency".
- Mark the desired currencies and save.
Exchange Rate Management
Exchange rates in Wix are automatically provided through the service provider XE and updated every three hours. For additional features, you can use specialised apps. Here is a comparison:
FeatureCurrency Converter AppExchange Rate AppAutomatic DetectionYesNoUpdate IntervalEvery 3 hoursDailyPrice per MonthFrom 3.95 €From 0.70 €Rating4.7/5–
For international shops, specialised currency apps are particularly useful as they offer features like automatic currency detection and flexible display options. Finally, you should integrate your preferred payment provider to fully activate the payment process.
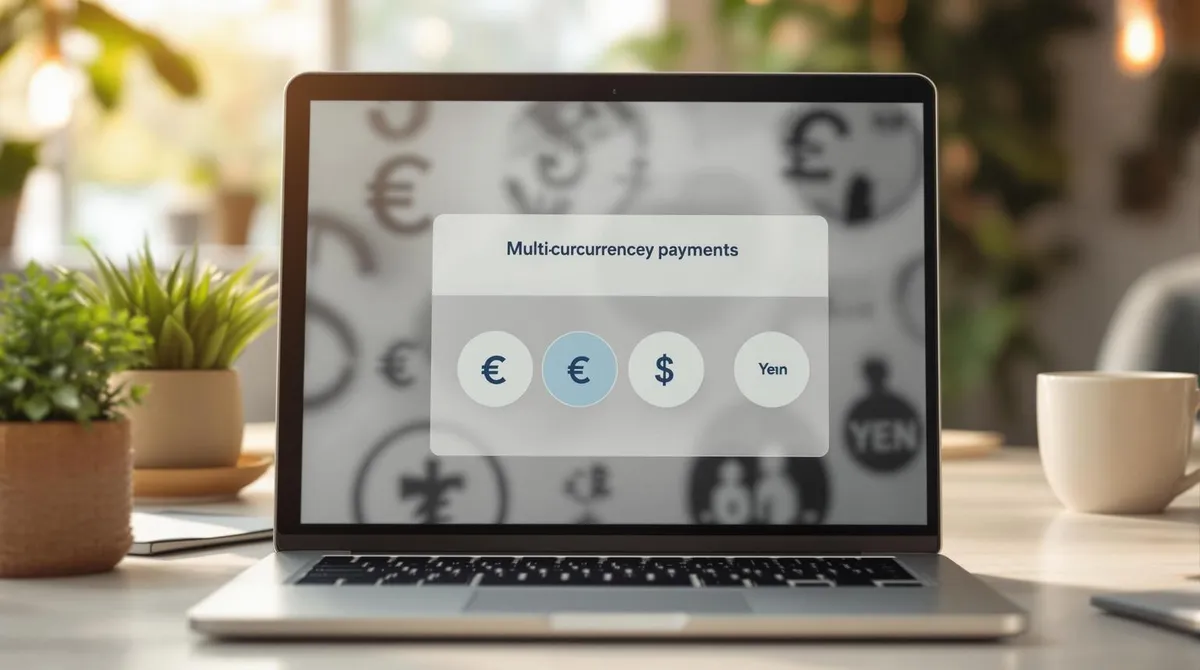
How to Add Multiple Currencies to Wix
Payment Provider Integration
After activating currencies, the next step is integrating payment providers to enable the sales process.
Setting Up Stripe
With Stripe, you can accept payments in multiple currencies in your Wix shop:
- Create a Stripe account: Register on the Stripe website.
- Connect in the Wix dashboard: Go to Settings → Accept Payments and connect Stripe.
- Complete authorisation: Follow the authorisation instructions.
Fees are 2.9% + EUR 0.30 per transaction.
Once Stripe is set up, you can integrate additional payment providers if needed.
Setting Up PayPal
PayPal provides access to over 400 million users worldwide and supports:
- PayPal Checkout
- Pay Later options
- Venmo (only available in certain markets)
Activation is also done under Accept Payments in the Wix dashboard.
If Stripe and PayPal are not sufficient, further payment options are available.
Additional Payment Options
For specific markets, there are additional providers:
ProviderSupported CurrenciesAvailability****Special FeaturesCal powered by PayMeNIS, USD, EURIsraelAPI key requiredTranzzoUAHUkraineProject ID, API key, and API secret required
Ensure that the selected providers are compatible with the activated currencies.
Security Measures
Stripe offers additional security features to protect your transactions:
- Payment processing according to PCI DSS standards
- Fraud detection through machine learning
- Automatic invoice creation and management
After integrating a payment provider, you should test the functionality in test mode before going live.
Store Display Settings
Once payment provider integration is complete, the next step is setting up your shop so that customers receive a consistent and user-friendly display experience. A clear presentation of multi-currency options can significantly improve your customers' shopping experience.
Price Management
For customers to trust your prices, they should be displayed clearly and transparently in every currency. Here are some important steps for configuring price display:
- Set base currency: Go to Settings → Language & Region to select the main currency.
- Activate automatic price rounding: This ensures clean amounts, especially for converted prices.
- Adjust decimal places: Decimal places can be hidden if needed to simplify the display.
Price DisplayRecommendationExampleMain currencyWith decimals29.99 €Converted pricesRounded30 $Large amountsWith thousands separator1,299.00 €
Setting Up Currency Selection
A currency converter can make your shop more attractive to international customers. Here is how to set it up:
- Add the currency converter: Via the Wix Editor (Store → Currency Converter), place the converter in a clearly visible location.
- Select currencies: In the "Currencies" section, you can activate the desired currencies. Exchange rates are automatically updated by XE.
- Customise design: Match colours, transparency, borders, and font style and size to your shop's layout.
This ensures the currency converter fits seamlessly into your shop's overall design.
Setting Up the Checkout Page
The checkout page should ensure consistent currency display to avoid misunderstandings: