Wix Multilingual: Setting Up Automatic Translation
Table of contents 7 sections
A multilingual website is indispensable: with Wix Multilingual, you can automatically translate your content into different languages and customise them individually. This way, you reach an international audience.
Quick Start Guide:
Preparation: Review content, use a clear structure, adhere to local standards (e.g. 1,234.56 EUR, DD.MM.YYYY). Add the app: Install the Multilingual app in the Wix Editor. Set up languages: Define your main language, add further languages, and adjust regional settings. Automatic translation: Activate translation for texts, menus, and SEO data.
Quality check: Review translations for grammar, technical terms, and cultural nuances.
Important Tips:
Costs: 10,000 characters free per month, additional packages available. Customisation: Adapt translations to local markets and update regularly. With Wix Multilingual, you can quickly create a multilingual website tailored to your target audience.
Before You Start
Steps for Content Preparation
Prepare your content thoroughly to ensure accurate automatic translation. Here is how to optimise your content: Check text. Ensure grammar, spelling, and formatting are error-free. Use clear structure. Write in short, precise sentences and break longer texts into easily readable paragraphs.
Adapt to local standards. Ensure your content meets the appropriate standards: prices in the correct format (e.g. EUR 1,234.56), date format DD.MM.YYYY (e.g. 17.04.2025), metric units (e.g. 100 km, 25 degrees C), 24-hour time format (e.g. 14:30). Follow these steps before beginning the Wix Multilingual setup.
Setting Up Wix Multilingual
Adding the Translation App
Here is how to add the Multilingual app in the Wix Editor: Open App Market: Click on "Apps" and search for "Multilingual". Install app: Select "Wix Multilingual" and click "Add to my website". Complete installation: Wait until the installation is finished.
After installation, the Multilingual icon appears in the editor sidebar. From there, you can proceed directly to setting up languages.
Configuring Language Settings
Set up the languages for your website: 1. Define the main language. Configure your primary language and set the following: language code, region, currency format, date format, and time format. 2. Add further languages. Click "Add new language" and select the desired languages. For each language, you can: adjust regional settings, select translation methods, and define SEO settings for the respective language.
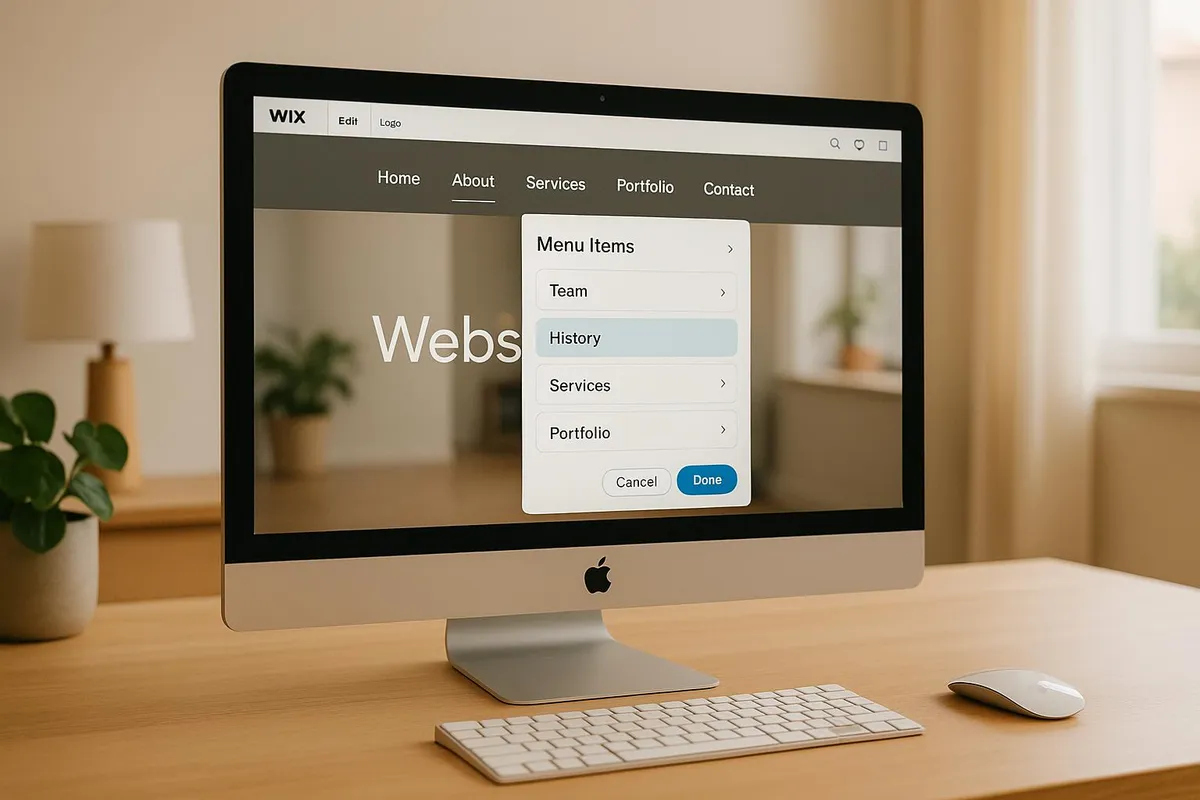
Customising the Language Display
Customise the appearance of the language switcher after the languages are set up: Design options — choose between a dropdown menu or horizontal list.
Change colours and fonts to your preference. Place the language switcher in a suitable position on your website. Visibility settings — select which languages should be visible. Decide whether flag icons are displayed. Determine whether languages are shown as country name or language code.
Only enable language versions once all translations have been reviewed. This prevents incomplete content from being visible to visitors.
Using Automatic Translation
Starting Automatic Translation
Once languages are set up, you can activate automatic translation.
With your prepared content, automatic translation provides a solid foundation. Select the desired target language in the Multilingual menu and use the corresponding icon in the page section. Automatic translation works across different areas: Text blocks: Mark individual sections or the entire page.
Menus and meta data: Translate navigation elements, buttons, SEO titles, descriptions, and keywords separately.
Reviewing the Translation
After automatic translation, a review is necessary to ensure the best results. Important check points: Review grammar and sentence structure.
Verify technical terms for correct translation. Adjust number and date formats. Consider cultural nuances for the target market.
Managing Translation Credits
Translation credit management is handled directly in the Wix dashboard: Monthly base credit: 10,000 characters free.
Additional credit: Available in packages from 100,000 characters. Usage overview: Keep track of your current credit balance. Check before larger projects whether sufficient credits are available. Plan the scope of your translations in advance. Enable notifications to be informed when credits are running low.
Note: For larger websites, purchasing a larger translation package is worthwhile to avoid interruptions. Then adapt your translations to the local market for optimal results.
Local Market Adjustments
Quality Control Steps
For content in any language, precise quality checking is essential: Linguistic review — ensure grammar, spelling, and punctuation meet the appropriate standards.
Correct use of special characters and diacritics. Consistent use of technical terms and industry-specific terminology. Specific adjustments by industry: Use technical terms in the appropriate local spelling. Deploy technical expressions consistently and uniformly.
After completing quality control, the language switcher should be adjusted to enable user-friendly navigation.
Language Menu Settings
The language menu should be adapted to user expectations: Setting — Recommended configuration — Reason. Menu position: top right — standard placement on websites. Language label: use native language name — clarity and comprehension for visitors. Flag icon: optional — suits cultural expectations. Language code: appropriate ISO standard.
Regional Format Standards
Ensure regional formats have been correctly implemented as previously defined. Pay particular attention to: Formatting — correct number format and correct display of currency amounts (EUR). Date entries in the appropriate format. Use of the metric system for units. These settings can be configured in Wix's "Regional Settings" to ensure consistent display throughout the website.
This completes the localisation for your target market.
Wix Multilingual UPDATE - Auto Translate CMS Collection ...
Troubleshooting Guide
These guides support you during automatic translation setup and help maintain your website's quality long-term.
Common Problems
Here are some typical problems that can occur, along with suitable solutions: Problem — Cause — Solution. Missing translations — character limit exceeded — split texts into smaller sections. Formatting errors — HTML tags in texts — clean up source code before translation. Unrecognised special characters — faulty character encoding — ensure UTF-8 encoding. Inconsistent translations — no translation memory available — create a glossary for recurring terms. Regular translation updates can resolve many of these problems.
Updating Translations
Beyond troubleshooting, continuous translation maintenance is essential. Regular updating ensures your multilingual website always stays current: monthly review of new content, activation of automatic notifications, regular quality checks, documentation of previous translations.
Conclusion
With Wix Multilingual, you can automatically translate your website and make it accessible to an international audience. However, to succeed in the global market, you need more than just translation — your website should be professionally adapted.
For successful implementation, you should: carefully prepare and review content, adapt translations to local conditions, maintain a translation memory, and regularly ensure quality. These measures not only guarantee high quality but also facilitate long-term website maintenance. Post-editing is indispensable: studies show that 88% of users do not return after a poor experience. From technical implementation to strategic development: working with experts pays off.
Welle West Webdesign, your Wix agency in Villach and Carinthia, offers creative, fast, and cost-effective solutions for your multilingual website.